In the high-stakes world of pharmaceutical and biotech manufacturing, maintaining sterility is non-negotiable. The integrity of the final product hinges on every step of the production line, especially during the filling stage. For companies prioritizing both efficiency and compliance, Ready-to-Use (RTP) sterile bottles have become the industry standard. These pre-sterilized, hermetically sealed containers eliminate the risks associated with manual washing and autoclaving, streamlining the filling process while adhering to the strictest regulatory standards. This article explores the technical workflow of using RTP sterile bottles, offering best practices for preparation, filling, and post-filling handling to ensure optimal product safety and quality.
The Evolution of Sterile Bottles in Aseptic Processing
The traditional method of preparing glass bottles for filling involved extensive cleaning, depyrogenation, and sterilization—a process that was labor-intensive, prone to human error, and carried a higher risk of contamination. As the industry moved toward automation and single-use technologies, the demand for sterile bottles surged. According to industry reports, the global market for sterile ready-to-use packaging is projected to grow significantly as manufacturers seek to reduce operational costs and improve fill-finish efficiency.
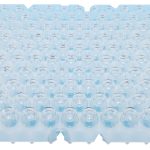
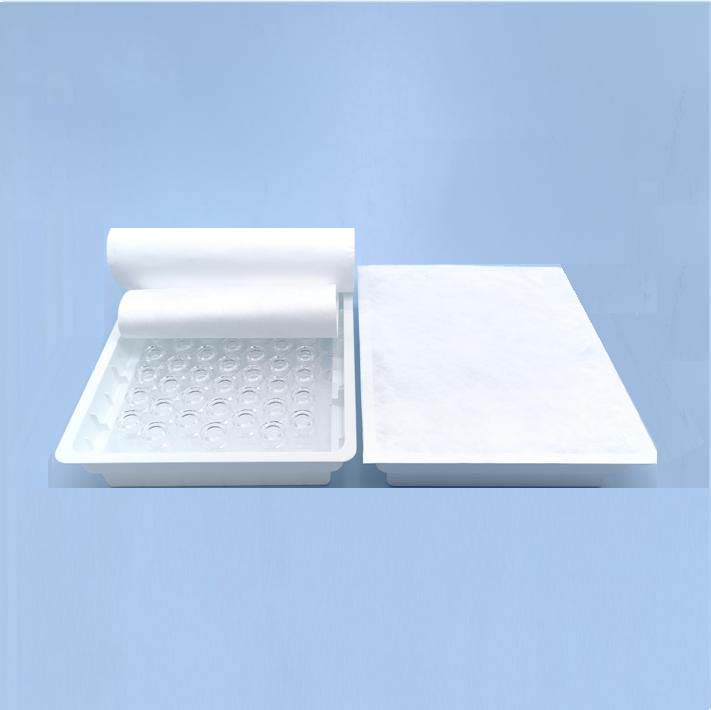
RTP sterile bottles are manufactured under controlled conditions using validated sterilization methods such as steam sterilization (autoclaving), ethylene oxide (EO) gas, or gamma radiation. They are then packaged in double-bagged systems to maintain their sterile state until the moment of use. This eliminates the need for in-house washing and sterilization lines, freeing up cleanroom space and reducing capital expenditure.
Step 1: Pre-Filling Preparation – Ensuring Readiness and Compliance
The first and most critical phase in the aseptic filling workflow is preparation. Even the most advanced filling machine cannot compensate for poorly prepared materials or equipment.
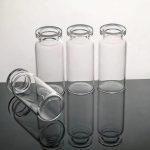
Before introducing sterile bottles into the production line, operators must conduct a thorough inspection of the glass vials. This includes verifying the integrity of the glass material—checking for cracks, chips, or defects that could compromise the container’s ability to maintain a seal or withstand pressure during transportation. Additionally, the closure system (e.g., rubber stoppers and aluminum caps) must be inspected for proper seating and tightness. Any sign of looseness or damage should result in immediate rejection of the batch.
Beyond physical inspection, it is essential to confirm that the sterile packaging remains intact and has not exceeded its expiration date. The integrity of the outer packaging is your first line of defense against microbial ingress. Many manufacturers now use tamper-evident seals and sterilization indicators (e.g., chemical integrators that change color upon exposure to sterilizing agents) to provide visual confirmation of the vial’s sterile status.
Next, the filling equipment must be prepared. Whether using a manual syringe or an automated filling machine, all surfaces that come into contact with the sterile bottle must be thoroughly cleaned and sterilized. For automated systems, this often involves a pre-rinse cycle with sterile water or alcohol, followed by a validated sterilization protocol. The filling environment itself—typically a Grade A cleanroom—must be monitored for particulate counts and viable microorganisms to ensure it meets ISO 14644-1 standards.
Step 2: The Filling Operation – Precision Meets Sterility
Once the sterile bottles and equipment are validated and ready, the filling operation can commence. This stage requires meticulous attention to detail to avoid contamination, air bubbles, and dosage inaccuracies.
For manual filling using syringes, the process begins by drawing the appropriate volume of liquid from a sterile reservoir. The operator must ensure that the syringe plunger is free of air bubbles before inserting the needle into the vial. Slow, controlled dispensing is critical to prevent splashing or foaming, which can introduce particulates or compromise the fill volume. The needle should be inserted at a slight angle to minimize contact with the inner surface of the vial, reducing the risk of scratching or contaminating the glass.
In automated settings, the filling machine must be calibrated to deliver precise volumes at the correct speed. Parameters such as fill weight, flow rate, and nozzle depth are programmed into the system and verified through pre-production validation runs. Modern filling machines often feature vision systems and weight sensors that provide real-time feedback, ensuring consistent fill levels and rejecting any vials that fall outside the acceptable range.
It is also important to consider the type of liquid being filled. Viscous solutions, suspensions, or foamy products may require specialized nozzles or slower fill speeds to maintain accuracy and prevent clogging. Some manufacturers employ nitrogen purging systems to replace oxygen inside the vial before sealing, which is particularly useful for oxygen-sensitive compounds.
Step 3: Post-Filling Handling – Sealing, Labeling, and Storage
The final stage of the process is equally critical. Once the vial is filled, it must be sealed immediately to prevent microbial contamination and maintain the product’s stability.
Sealing is typically performed using a combination of rubber stoppers and aluminum caps, which are crimped into place using a capping machine. The force applied during crimping must be carefully controlled to ensure a secure seal without damaging the stopper or deforming the vial. Over-crimping can lead to leakage or difficulty in opening, while under-crimping compromises the seal’s integrity.
After sealing, each vial must be labeled with essential information, including the product name, batch number, dosage strength, expiration date, and storage instructions. Labels must be applied in a manner that does not obscure the vial’s barcode or any critical quality attributes. In many cases, automated labeling systems are integrated into the filling line to ensure consistency and compliance with track-and-trace regulations.
Finally, the filled and labeled vials are transferred to their designated storage environment. The conditions—temperature, humidity, and light exposure—must align with the product’s stability profile. For example, biologics often require refrigerated storage (2–8°C), while some small-molecule drugs may be stable at room temperature. Proper storage is not only a quality control measure but also a regulatory requirement for traceability and lot management.
Conclusion: The Strategic Advantage of RTP Sterile Bottles
The use of RTP sterile bottles represents a paradigm shift in aseptic manufacturing. By outsourcing the complexities of sterilization and cleaning to specialized suppliers, pharmaceutical companies can focus on their core competencies—drug development and production. The streamlined workflow not only enhances efficiency but also reduces the risk of contamination, improves batch consistency, and ensures compliance with global regulatory standards.
As the industry continues to evolve, the adoption of RTP sterile bottles will likely accelerate, driven by advances in automation, increased demand for personalized medicine, and the growing emphasis on supply chain resilience. For manufacturers seeking to optimize their fill-finish operations, investing in high-quality RTP sterile bottles and implementing robust filling protocols is not just a best practice—it is a strategic imperative.
By following the technical guidelines outlined in this article, companies can ensure that every vial leaving their facility meets the highest standards of safety, sterility, and quality—ultimately safeguarding patient health and reinforcing their reputation as leaders in pharmaceutical manufacturing.